 网硕互联帮助中心
目录
一、引言
二、GUI界面设计
1.第一步:单击下载模板
2.第二步:单击上传模板
3.第三步:开始批量生成
4.异常提示
5.界面设计jiemian.py
三、主要程序详解
1.导入所需模块
2.初始化设置
3.模板文件的生成与下载
4.选择并上传模板文件
5.读取模板文件并批量生成
6.自定义函数
四、总程序代码QRCode.py
一、引言
(好久不见!从以下这篇文章开始,正式宣告回归!)
在使用之前所做的二维码生成器时(参考Python+PyQt:30行代码实现二维码自由或TabWidget集成:Pyqt打造二维码工作台),发现一次只能产生一个二维码。但在现实生活中,需要一次性产生大量的指定内容的二维码,而且需要使产生的所有二维码文件易于区分。若进行手动复制粘贴、逐个命名、反复保存的重复劳动,早已不是效率问题,而是对创造力的无声消耗。因此我不再满足于在线工具的云端依赖与数据泄露风险,也不愿被“qrcode_001.png”这样毫无意义的文件名困住归档逻辑。于是,基于 Python 与 PyQt 构建的这款本地化生成器应运而生——它不依赖网络,不上传数据,只需上传一份excel文件,就能在数秒内将千条信息转化为高清二维码,并按你设定的规则——如“订单号_日期_序列”或“产品编码_V2”——自动赋予每张图片独一无二的“身份”。它不是脚本的堆砌,而是一套嵌入你工作流的自动化引擎,让信息的生成从机械操作,回归为有逻辑、有尊严的流程设计。
不再只是生成二维码,而是在构建属于自己的数字资产管理体系。
二、GUI界面设计
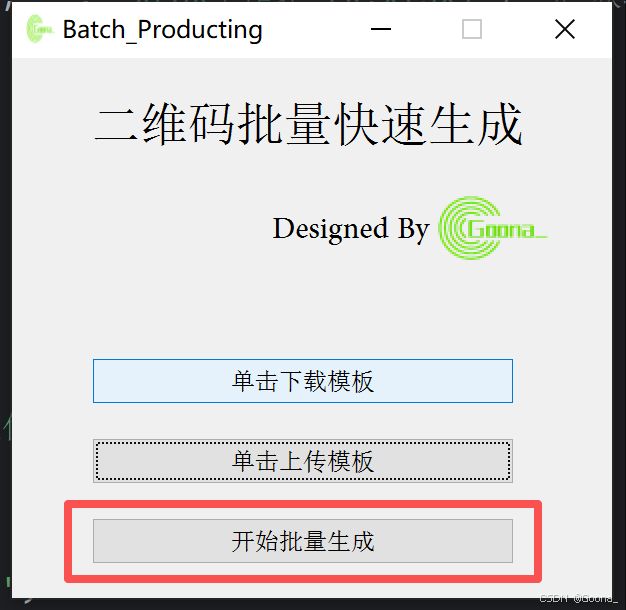
使用PyQt5进行界面的搭建,最终界面如下:

1.第一步:单击下载模板
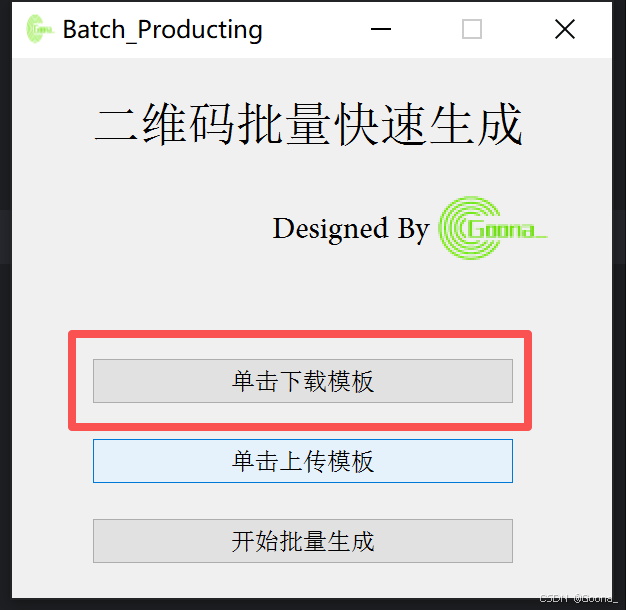
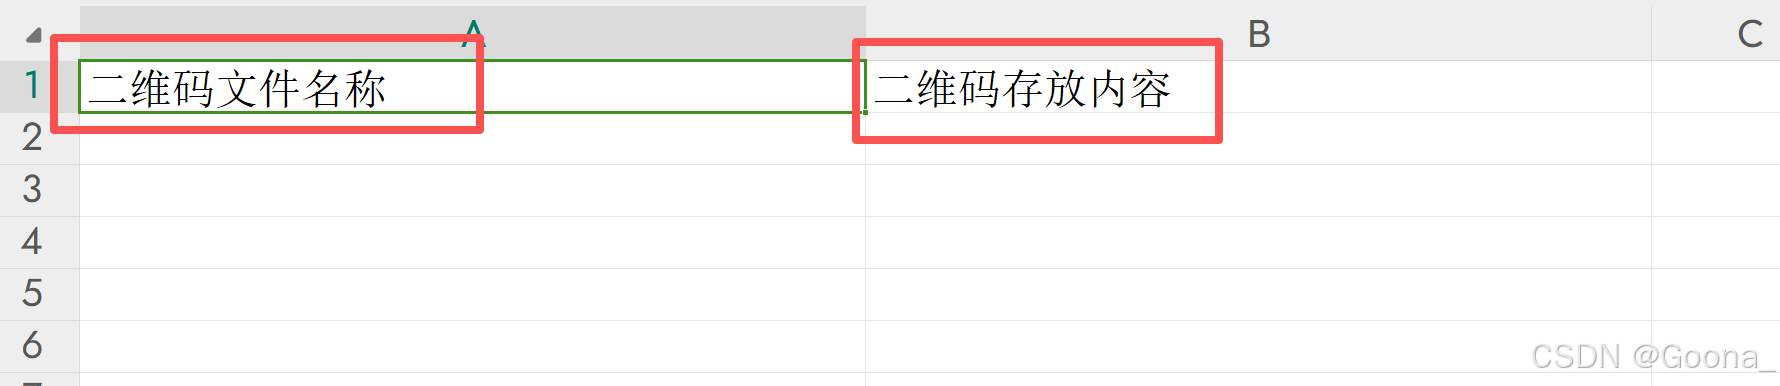
直接单击下载即可,下载的excel文件模板如下。
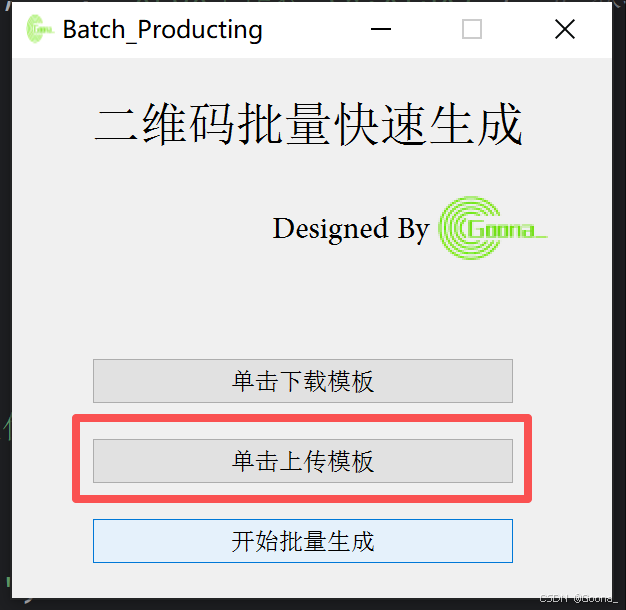
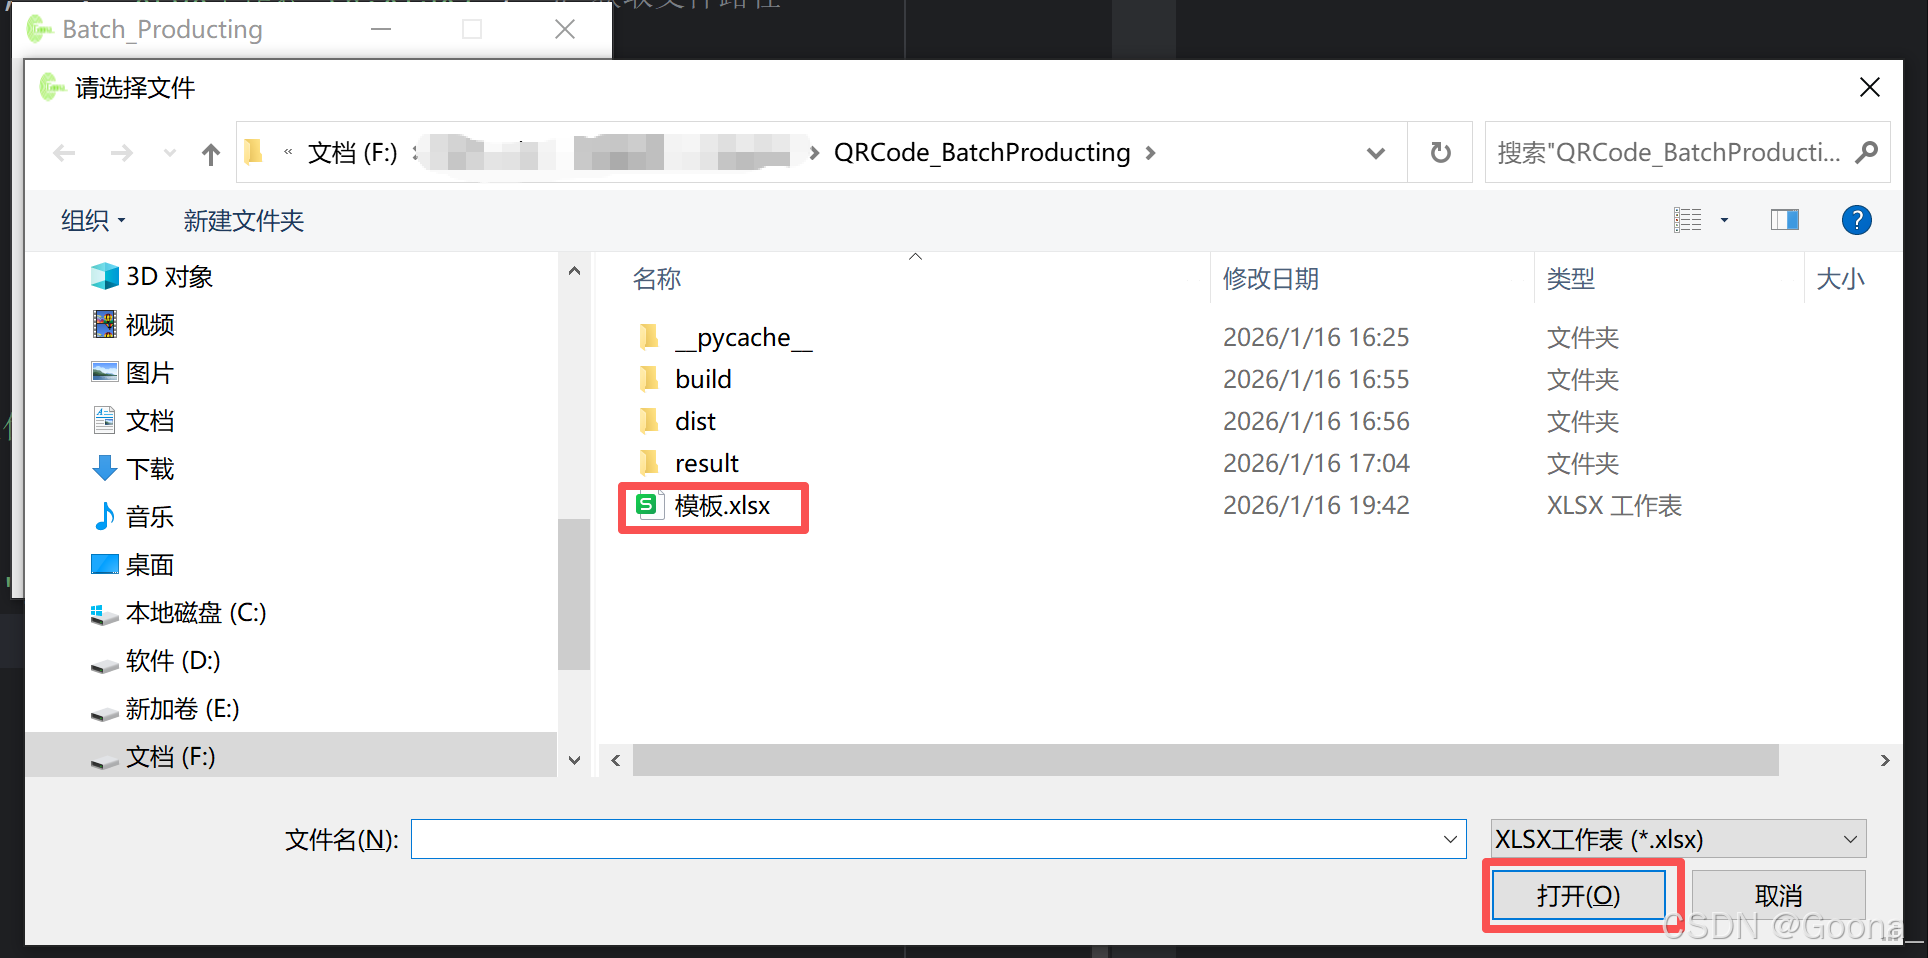
2.第二步:单击上传模板
将对应信息填写至模板excel文件后,单击上传模板,弹出“上传成功”的提示框。

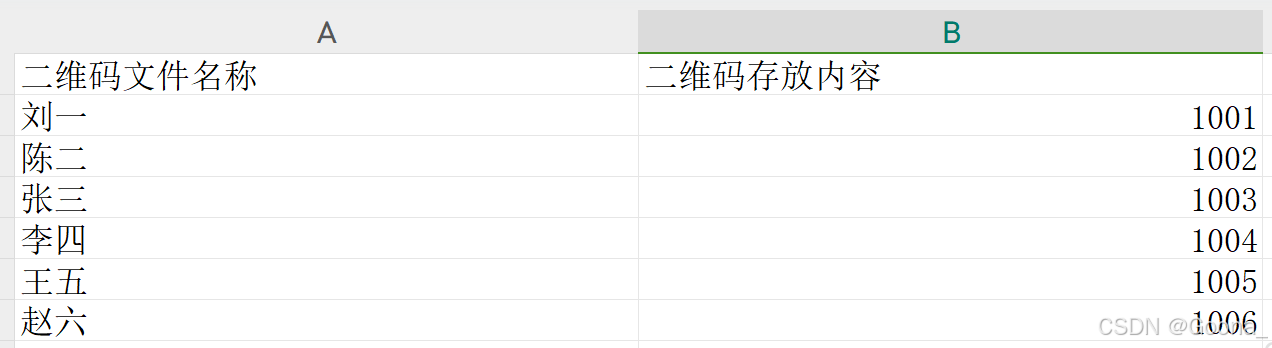
填写示例信息如下:
3.第三步:开始批量生成
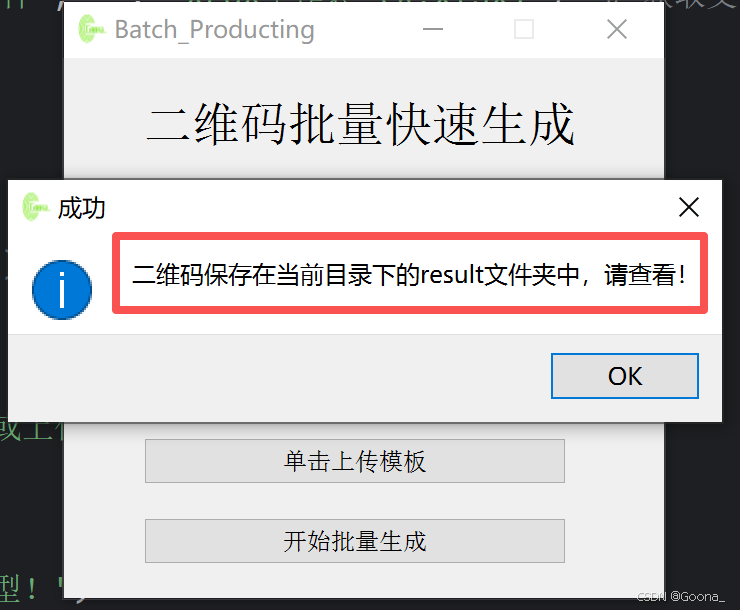
点击“开始批量生成”,即可根据模板excel文件所填写内容生成具有相应内容的二维码,并以模板excel文件中第一列数据进行相应命名。最终结果保存在本地“result”文件夹中。
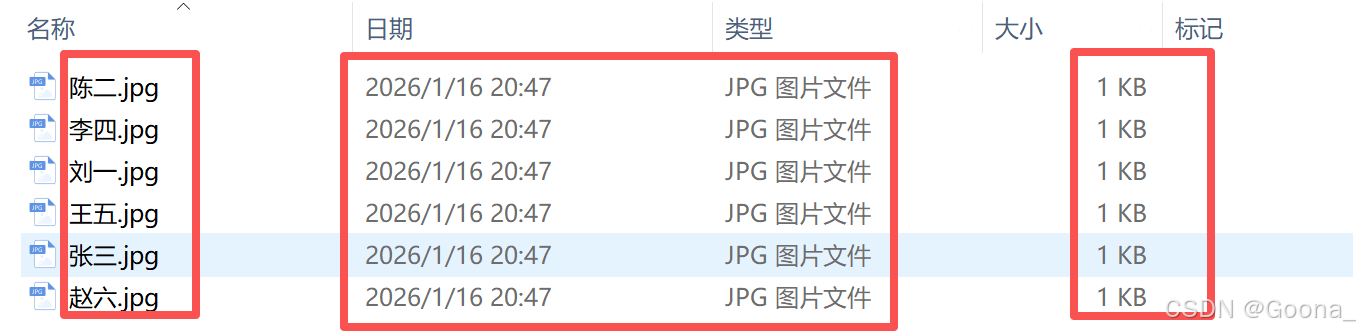
批量生成的二维码如下所示,每个二维码所表示的内容均与模板excel文件相对应,且文件名称也根据所填“二维码文件名称”重命名完毕。
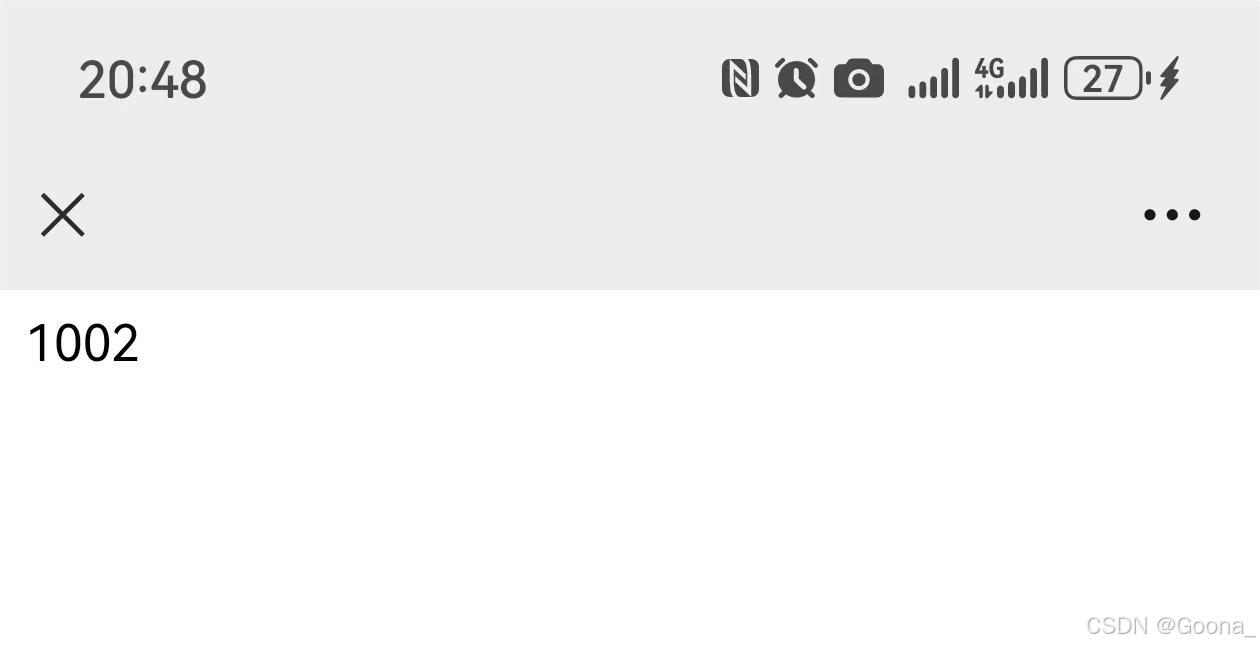
扫码效果如下:
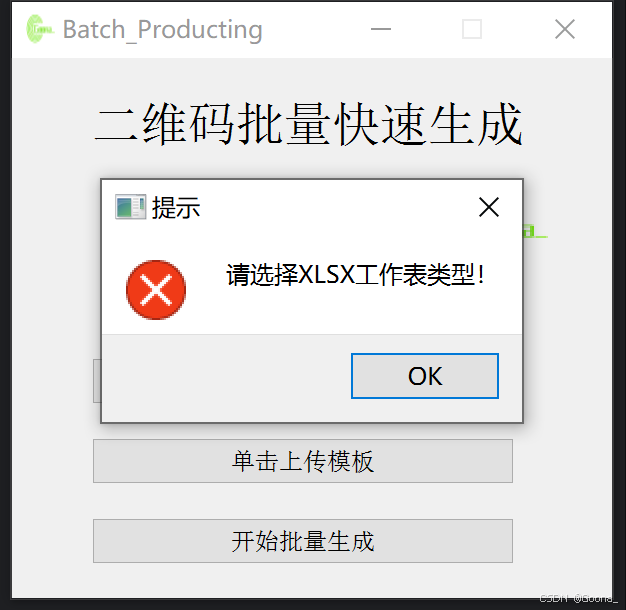
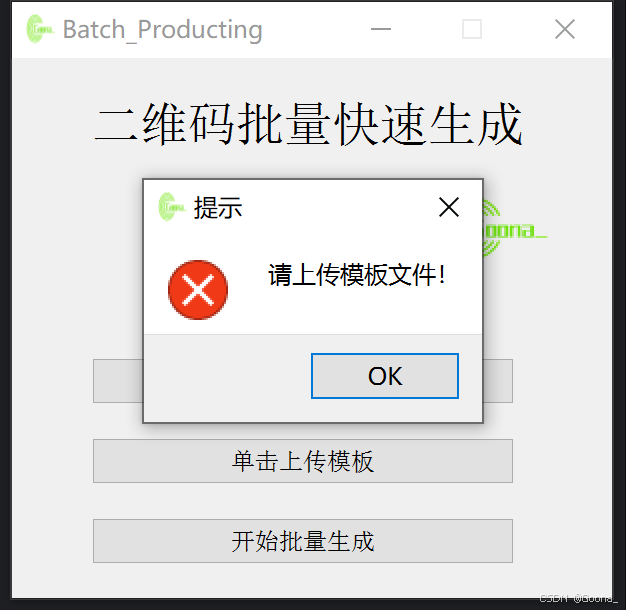
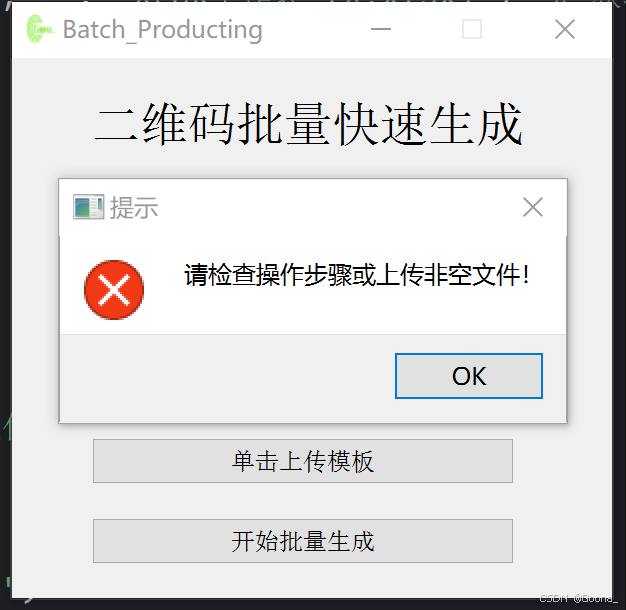
4.异常提示
5.界面设计jiemian.py
最后附上通过pyuic5产生的GUI界面代码jiemian.py:
# -*- coding: utf-8 -*-
# Form implementation generated from reading ui file 'jiemian.ui'
#
# Created by: PyQt5 UI code generator 5.15.11
#
# WARNING: Any manual changes made to this file will be lost when pyuic5 is
# run again. Do not edit this file unless you know what you are doing.
from PyQt5 import QtCore, QtGui, QtWidgets
class Ui_Form(object):
def setupUi(self, Form):
Form.setObjectName("Form")
Form.setEnabled(True)
Form.resize(300, 270)
Form.setMinimumSize(QtCore.QSize(300, 270))
Form.setMaximumSize(QtCore.QSize(300, 270))
icon = QtGui.QIcon()
icon.addPixmap(QtGui.QPixmap(":/image1.png"), QtGui.QIcon.Normal, QtGui.QIcon.Off)
Form.setWindowIcon(icon)
self.label_5 = QtWidgets.QLabel(Form)
self.label_5.setGeometry(QtCore.QRect(130, 70, 141, 31))
font = QtGui.QFont()
font.setFamily("Adobe Arabic")
font.setPointSize(16)
self.label_5.setFont(font)
self.label_5.setObjectName("label_5")
self.label_8 = QtWidgets.QLabel(Form)
self.label_8.setGeometry(QtCore.QRect(40, 20, 271, 31))
font = QtGui.QFont()
font.setFamily("Adobe Arabic")
font.setPointSize(18)
font.setBold(False)
font.setWeight(50)
self.label_8.setFont(font)
self.label_8.setObjectName("label_8")
self.label_10 = QtWidgets.QLabel(Form)
self.label_10.setGeometry(QtCore.QRect(210, 60, 71, 51))
self.label_10.setText("")
self.label_10.setPixmap(QtGui.QPixmap(":/image1.png"))
self.label_10.setObjectName("label_10")
self.pushButton = QtWidgets.QPushButton(Form)
self.pushButton.setGeometry(QtCore.QRect(40, 150, 211, 23))
self.pushButton.setObjectName("pushButton")
self.pushButton_2 = QtWidgets.QPushButton(Form)
self.pushButton_2.setGeometry(QtCore.QRect(40, 230, 211, 23))
self.pushButton_2.setObjectName("pushButton_2")
self.pushButton_3 = QtWidgets.QPushButton(Form)
self.pushButton_3.setGeometry(QtCore.QRect(40, 190, 211, 23))
self.pushButton_3.setObjectName("pushButton_3")
self.retranslateUi(Form)
QtCore.QMetaObject.connectSlotsByName(Form)
def retranslateUi(self, Form):
_translate = QtCore.QCoreApplication.translate
Form.setWindowTitle(_translate("Form", "Batch_Producting"))
self.label_5.setText(_translate("Form", "Designed By"))
self.label_8.setText(_translate("Form", "二维码批量快速生成"))
self.pushButton.setText(_translate("Form", "单击下载模板"))
self.pushButton_2.setText(_translate("Form", "开始批量生成"))
self.pushButton_3.setText(_translate("Form", "单击上传模板"))
import ziyuan_rc
三、主要程序详解
1.导入所需模块
import sys, os
import qrcode
from jiemian import *
from PyQt5.QtWidgets import QApplication, QWidget
from openpyxl import Workbook
import pandas as pd
# 保持窗口大小和qtdesigner中的一致
from PyQt5 import QtCore
QtCore.QCoreApplication.setAttribute(QtCore.Qt.AA_EnableHighDpiScaling)
二维码最常用且权威的表达是“QR Code”(全称Quick Response Code),其中“QR”代表“Quick Response”(快速响应),体现其高速识读特性。在导入qrcode之前,需要通过pip指令安装qrcode。
pip install qrcode
不懂为啥需要导入Qtcore的,请看一键曝光:Python+PyQt实现的文件目录透视镜。
2.初始化设置
def __init__(self):
super(QWidget, self).__init__()
self.setupUi(self)
self.pushButton.clicked.connect(self.xiazai)
self.pushButton_2.clicked.connect(self.duqu)
self.pushButton_3.clicked.connect(self.upload)
self.upload_flag = False
继承于父类QWidget,并显示主界面;将pushbutton、pushbutton_2、pushbutton_3分别绑定于xiazai、duqu、upload;设立上传标志位upload_flag表示用户是否上传模板excel文件。
3.模板文件的生成与下载
def xiazai(self):
# 下载对应表模板文件
wb = Workbook()
ws = wb.active
ws.column_dimensions['A'].width = 36
ws.column_dimensions['B'].width = 36
ws.cell(row=1, column=1, value="二维码文件名称")
ws.cell(row=1, column=2, value="二维码存放内容")
wb.save('模板.xlsx')
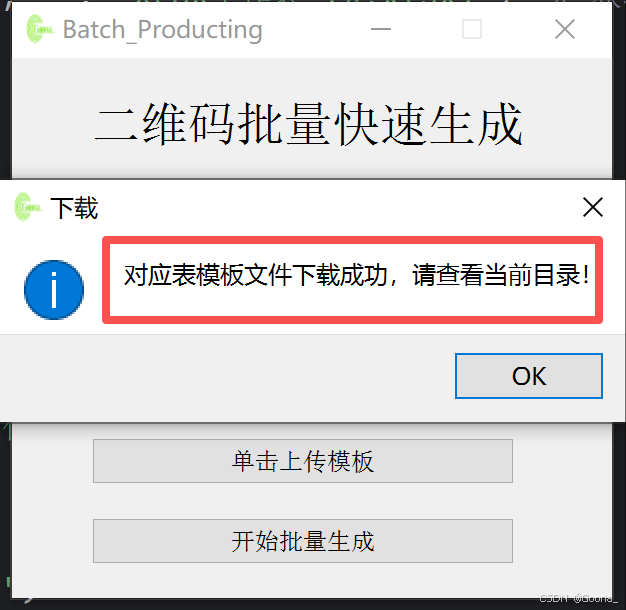
QtWidgets.QMessageBox.information(self,"下载","对应表模板文件下载成功,请查看当前目录!")
使用openpyxl库生成模板文件,设置A、B列的列宽分别为36;A、B列的表头也同理进行简单设置;最后将文件保存到当前目录下,文件名称命名为“模板.xlsx”;并提示用户相关成功信息。
4.选择并上传模板文件
def upload(self):
self.excel_data = shangchuan()
self.upload_flag = True
# print(self.excel_data)
调用自定义函数shangchuan实现用户选择文件并上传的功能,再次并设置标志位状态为True。
5.读取模板文件并批量生成
def duqu(self):
if self.upload_flag == True:
name_lst = list(self.excel_data['二维码文件名称'])
content_lst = list(self.excel_data['二维码存放内容'])
img_file = "result"
# 定义保存结果的文件夹名称为“result”
if not os.path.exists(img_file): # 检查文件夹是否存在,否则创建
os.makedirs(img_file)
for i in range(len(name_lst)):
img_product = shengcheng(str(content_lst[i]))
img_product.save(img_file+"\\\\"+name_lst[i]+'.jpg') #
QtWidgets.QMessageBox.information(self, "成功", "二维码保存在当前目录下的result文件夹中,请查看!")
else:
QtWidgets.QMessageBox.critical(self, "提示", "请上传模板文件!")
以标志位upload_flag的状态为依据判断用户是否上传符合要求的模板excel文件,并读取数据分别存储在列表name_list和content_list中,前者用于重命名文件,后者用于写入二维码;新建文件夹“result”,用于存储批量生成的全部二维码照片;最后,通过循环,调用自定义函数shengcheng,返回生成的每一张二维码照片,命名后存储。
6.自定义函数
def shengcheng(content):
# 创建二维码配置对象
qr = qrcode.QRCode(version=3, box_size=8, border=4)
# version=3:二维码尺寸版本 (1-40),3对应29×29模块(自动适配时可省略)
# box_size=8:每个二维码小方块占8像素
# border=4:二维码边缘留白宽度(4个小方块宽度的白色边框)
if content != "":
qr.add_data(content) # 添加数据
# 生成数据矩阵
qr.make(fit=True) # fit=True:自动选择最小可用版本尺寸;若数据过长会自动升级 version 值(覆盖初始设置的version=3)
image = qr.make_image(fill='Black') # 渲染图像
return image
通过输入参数:content,来返回生成的二维码图片image。
def shangchuan():
filepath, _ = QtWidgets.QFileDialog.getOpenFileName(None, "请选择文件", "", "XLSX工作表 (*.xlsx)") # 获取文件路径
if filepath:
# 获取原始df
yuanshi_df = pd.read_excel(filepath)
if not yuanshi_df.empty:
QtWidgets.QMessageBox.information(None, "成功", "上传成功!")
return yuanshi_df
else:
QtWidgets.QMessageBox.critical(None, "提示", "请检查操作步骤或上传非空文件!")
shangchuan() # 直到上传非空文件
else:
QtWidgets.QMessageBox.critical(None, "提示", "请选择XLSX工作表类型!")
shangchuan() # 直到成功选择类型并上传
使用户一直上传,除非上传了工作表类型,且文件非空。
四、总程序代码QRCode.py
import sys, os
import qrcode
from jiemian import *
from PyQt5.QtWidgets import QApplication, QWidget
from openpyxl import Workbook
import pandas as pd
# 保持窗口大小和qtdesigner中的一致
from PyQt5 import QtCore
QtCore.QCoreApplication.setAttribute(QtCore.Qt.AA_EnableHighDpiScaling)
class mainwindow(QWidget, Ui_Form):
def __init__(self):
super(QWidget, self).__init__()
self.setupUi(self)
self.pushButton.clicked.connect(self.xiazai)
self.pushButton_2.clicked.connect(self.duqu)
self.pushButton_3.clicked.connect(self.upload)
self.upload_flag = False
def xiazai(self):
# 下载对应表模板文件
wb = Workbook()
ws = wb.active
ws.column_dimensions['A'].width = 36
ws.column_dimensions['B'].width = 36
ws.cell(row=1, column=1, value="二维码文件名称")
ws.cell(row=1, column=2, value="二维码存放内容")
wb.save('模板.xlsx')
QtWidgets.QMessageBox.information(self,"下载","对应表模板文件下载成功,请查看当前目录!")
def upload(self):
self.excel_data = shangchuan()
self.upload_flag = True
# print(self.excel_data)
def duqu(self):
if self.upload_flag == True:
name_lst = list(self.excel_data['二维码文件名称'])
content_lst = list(self.excel_data['二维码存放内容'])
img_file = "result"
# 定义保存结果的文件夹名称为“result”
if not os.path.exists(img_file): # 检查文件夹是否存在,否则创建
os.makedirs(img_file)
for i in range(len(name_lst)):
img_product = shengcheng(str(content_lst[i]))
img_product.save(img_file+"\\\\"+name_lst[i]+'.jpg') #
QtWidgets.QMessageBox.information(self, "成功", "二维码保存在当前目录下的result文件夹中,请查看!")
else:
QtWidgets.QMessageBox.critical(self, "提示", "请上传模板文件!")
def shengcheng(content):
# 创建二维码配置对象
qr = qrcode.QRCode(version=3, box_size=8, border=4)
# version=3:二维码尺寸版本 (1-40),3对应29×29模块(自动适配时可省略)
# box_size=8:每个二维码小方块占8像素
# border=4:二维码边缘留白宽度(4个小方块宽度的白色边框)
if content != "":
qr.add_data(content) # 添加数据
# 生成数据矩阵
qr.make(fit=True) # fit=True:自动选择最小可用版本尺寸;若数据过长会自动升级 version 值(覆盖初始设置的version=3)
image = qr.make_image(fill='Black') # 渲染图像
return image
def shangchuan():
filepath, _ = QtWidgets.QFileDialog.getOpenFileName(None, "请选择文件", "", "XLSX工作表 (*.xlsx)") # 获取文件路径
if filepath:
# 获取原始df
yuanshi_df = pd.read_excel(filepath)
if not yuanshi_df.empty:
QtWidgets.QMessageBox.information(None, "成功", "上传成功!")
return yuanshi_df
else:
QtWidgets.QMessageBox.critical(None, "提示", "请检查操作步骤或上传非空文件!")
shangchuan() # 直到上传非空文件
else:
QtWidgets.QMessageBox.critical(None, "提示", "请选择XLSX工作表类型!")
shangchuan() # 直到成功选择类型并上传
if __name__ == '__main__':
app = QApplication(sys.argv)
w = mainwindow()
w.show()
sys.exit(app.exec_())
欢迎留言/私信沟通交流!


评论前必须登录!
注册