 网硕互联帮助中心
一:开门见山
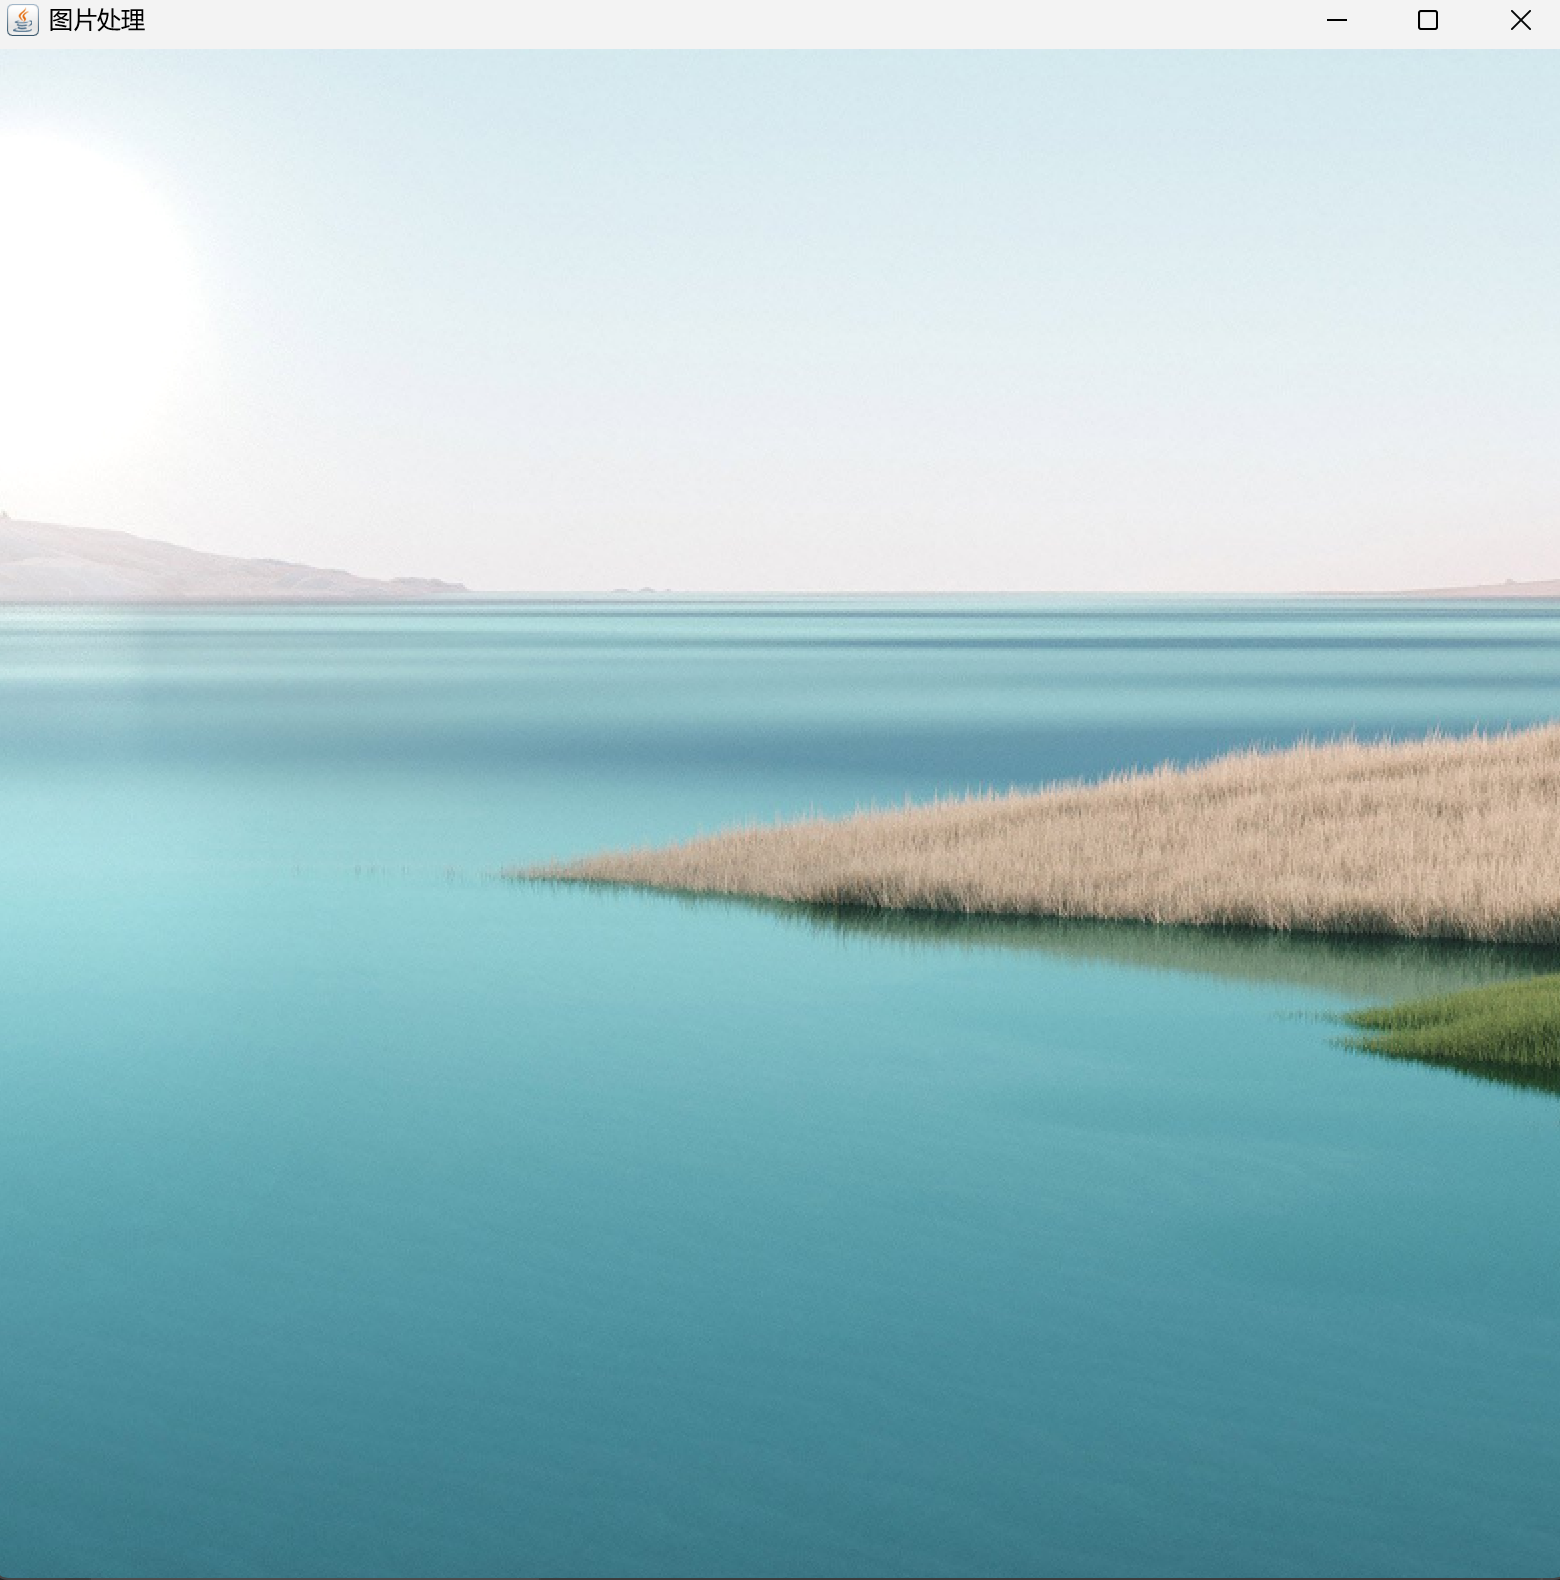
原图

1、先定义一个类ImageUI,接着在ImageUI后面加上extends JFrame
public class ImageUI extends JFrame{
2、定义方法和属性
public void showUI(){
JFrame jf = this;
jf.setTitle("图片处理");
jf.setDefaultCloseOperation(JFrame.EXIT_ON_CLOSE);
jf.setSize(800,800);
jf.setVisible(true);
}
3、写一个读取数据的方法
public BufferedImage readDate(String path){
File file = new File(path);//文件夹属性:文件的路径 名称 尺寸 等等
try {
//读取文件的图片
BufferedImage img = ImageIO.read(file);
return img;
} catch (IOException e) {
throw new RuntimeException(e);
}
}
4、调用方法
public void paint(Graphics g){
super.paint(g);
String path = "\\\\C:\\\\Users\\\\Lenovo\\\\OneDrive\\\\图片\\\\Screenshots\\\\屏幕截图 2025-08-05 212903.png\\\\";
//调用读取图片的方法
BufferedImage img = readDate(path);
//绘制图片 图片的左上角坐标
g.drawImage(img,0,0,null);
//提取图片的数据:
//获取图片的宽高
int w = img.getWidth();
int h = img.getHeight();
//创建一个二维数组,存储图片的数据
int[][] imgPixs = new int[w][h];
//便利图片的每一个像素,取出存入数组中
for (int i = 0 ;i<w;i++){
for (int j = 0;j<h;j++){
imgPixs[i][j]=img.getRGB(i,j);
}
}
(以上四项皆为铺垫内容,不属于本节课的重点,代码若不理解,只需照抄即可。接下来我们进入本节课的重点)
二:效果测试(5至8项皆为平行代码)
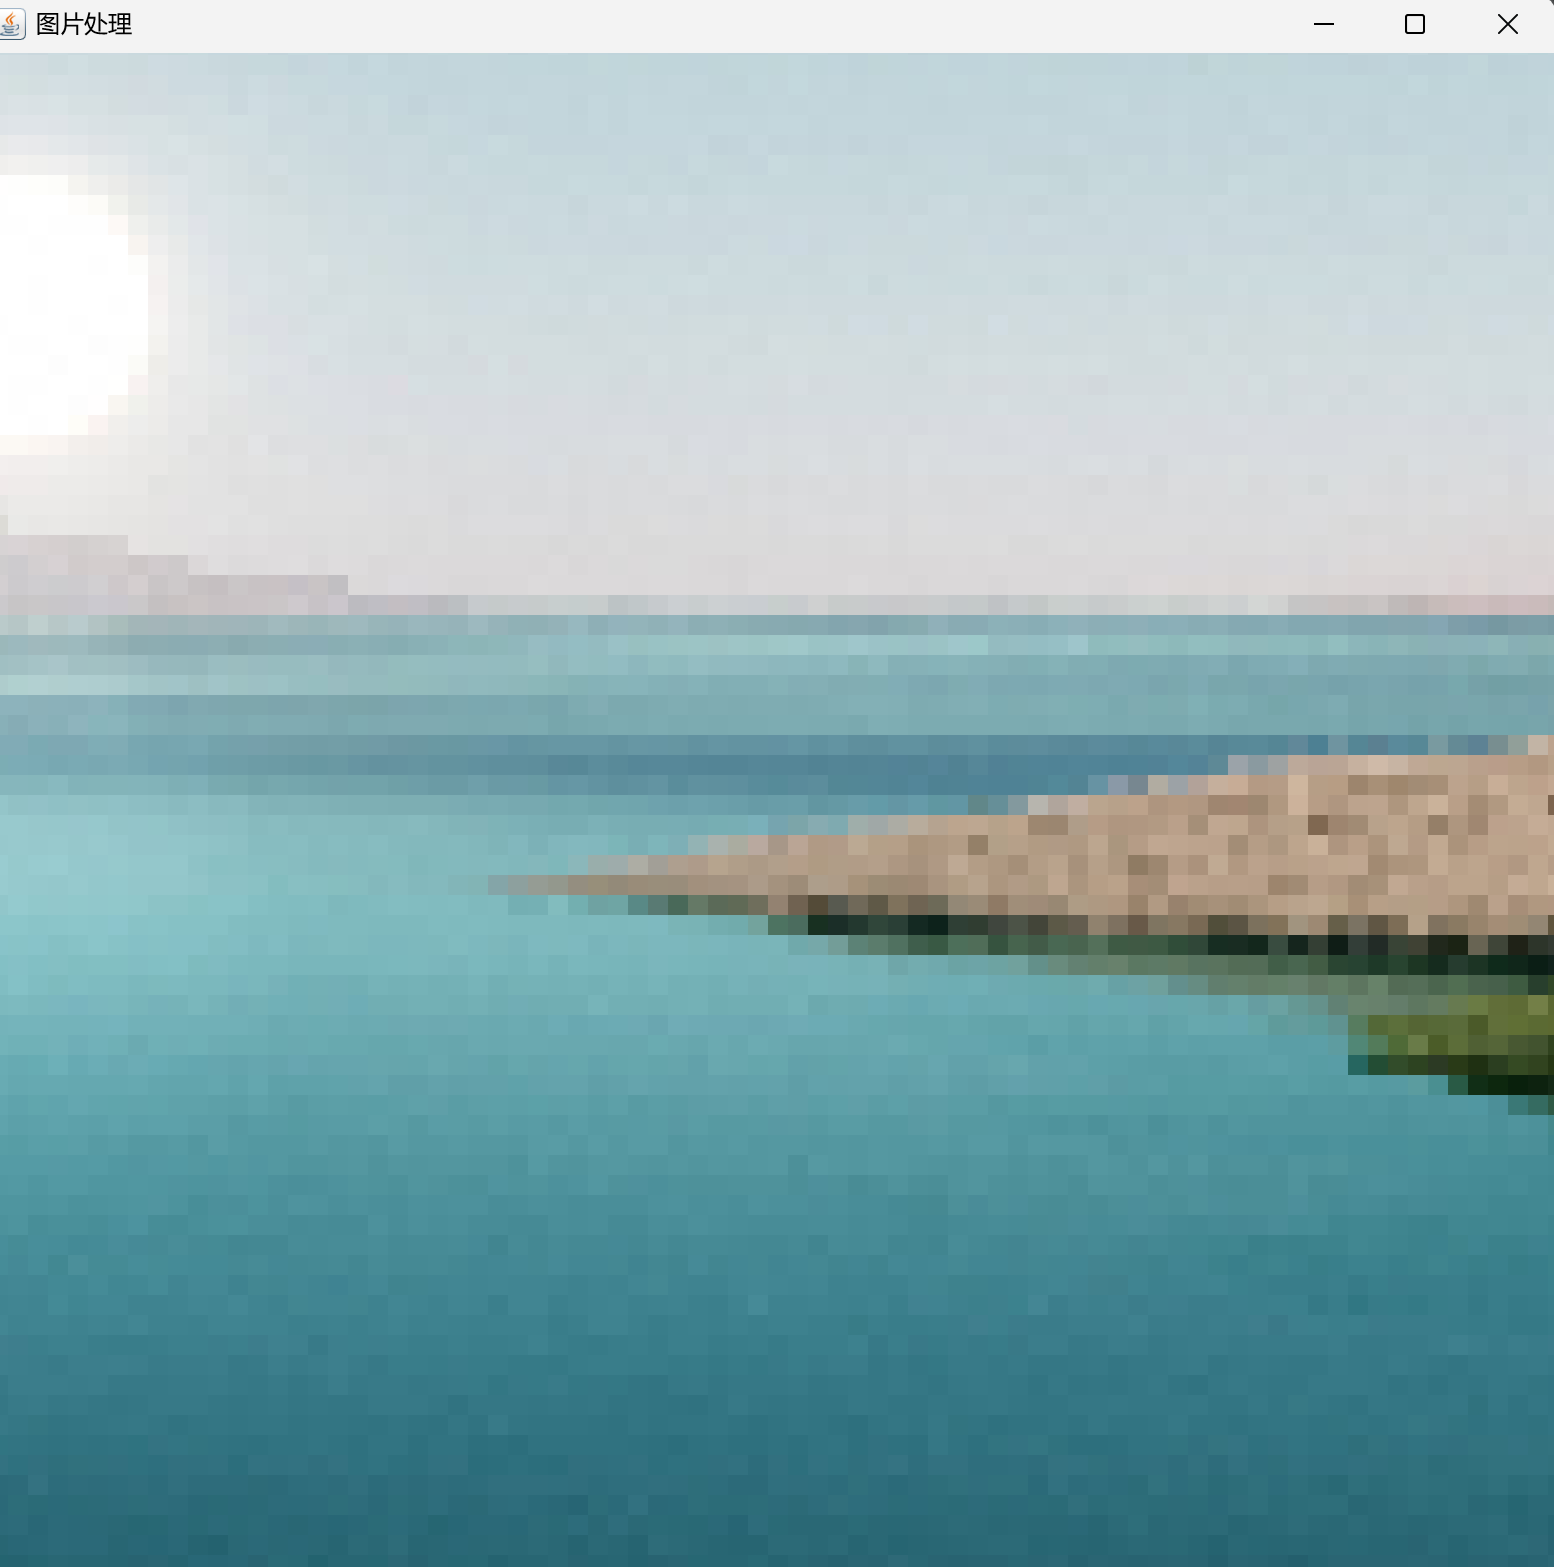
5、马赛克处理
//重新遍历数组,取出每一个像素值
//马赛克
for (int i = 0 ;i<w;i+=10){
for (int j = 0;j<h;j+=10){
int rgb = imgPixs[i][j];
Color color = new Color(rgb);
int red = color.getRed();
int green = color.getGreen();
int blue = color.getBlue();
Color color1 = new Color(red,green,blue);
g.setColor(color1);
g.fillRect(i,j,10,10);
}
}
}
6、提升亮度
for (int i = 0 ;i<w;i+=1){
for (int j = 0;j<h;j+=1){
int rgb = imgPixs[i][j];
Color color = new Color(rgb);
int red = color.getRed();
int green = color.getGreen();
int blue = color.getBlue();
//提升亮度
red+=20;
green+=20;
blue+=20;
if (red>255){red=255;}
if (green>255){green=255;}
if (blue>255){blue=255;}
Color color1 = new Color(red,green,blue);
g.setColor(color1);
g.fillRect(i,j,10,10);
}
}
}
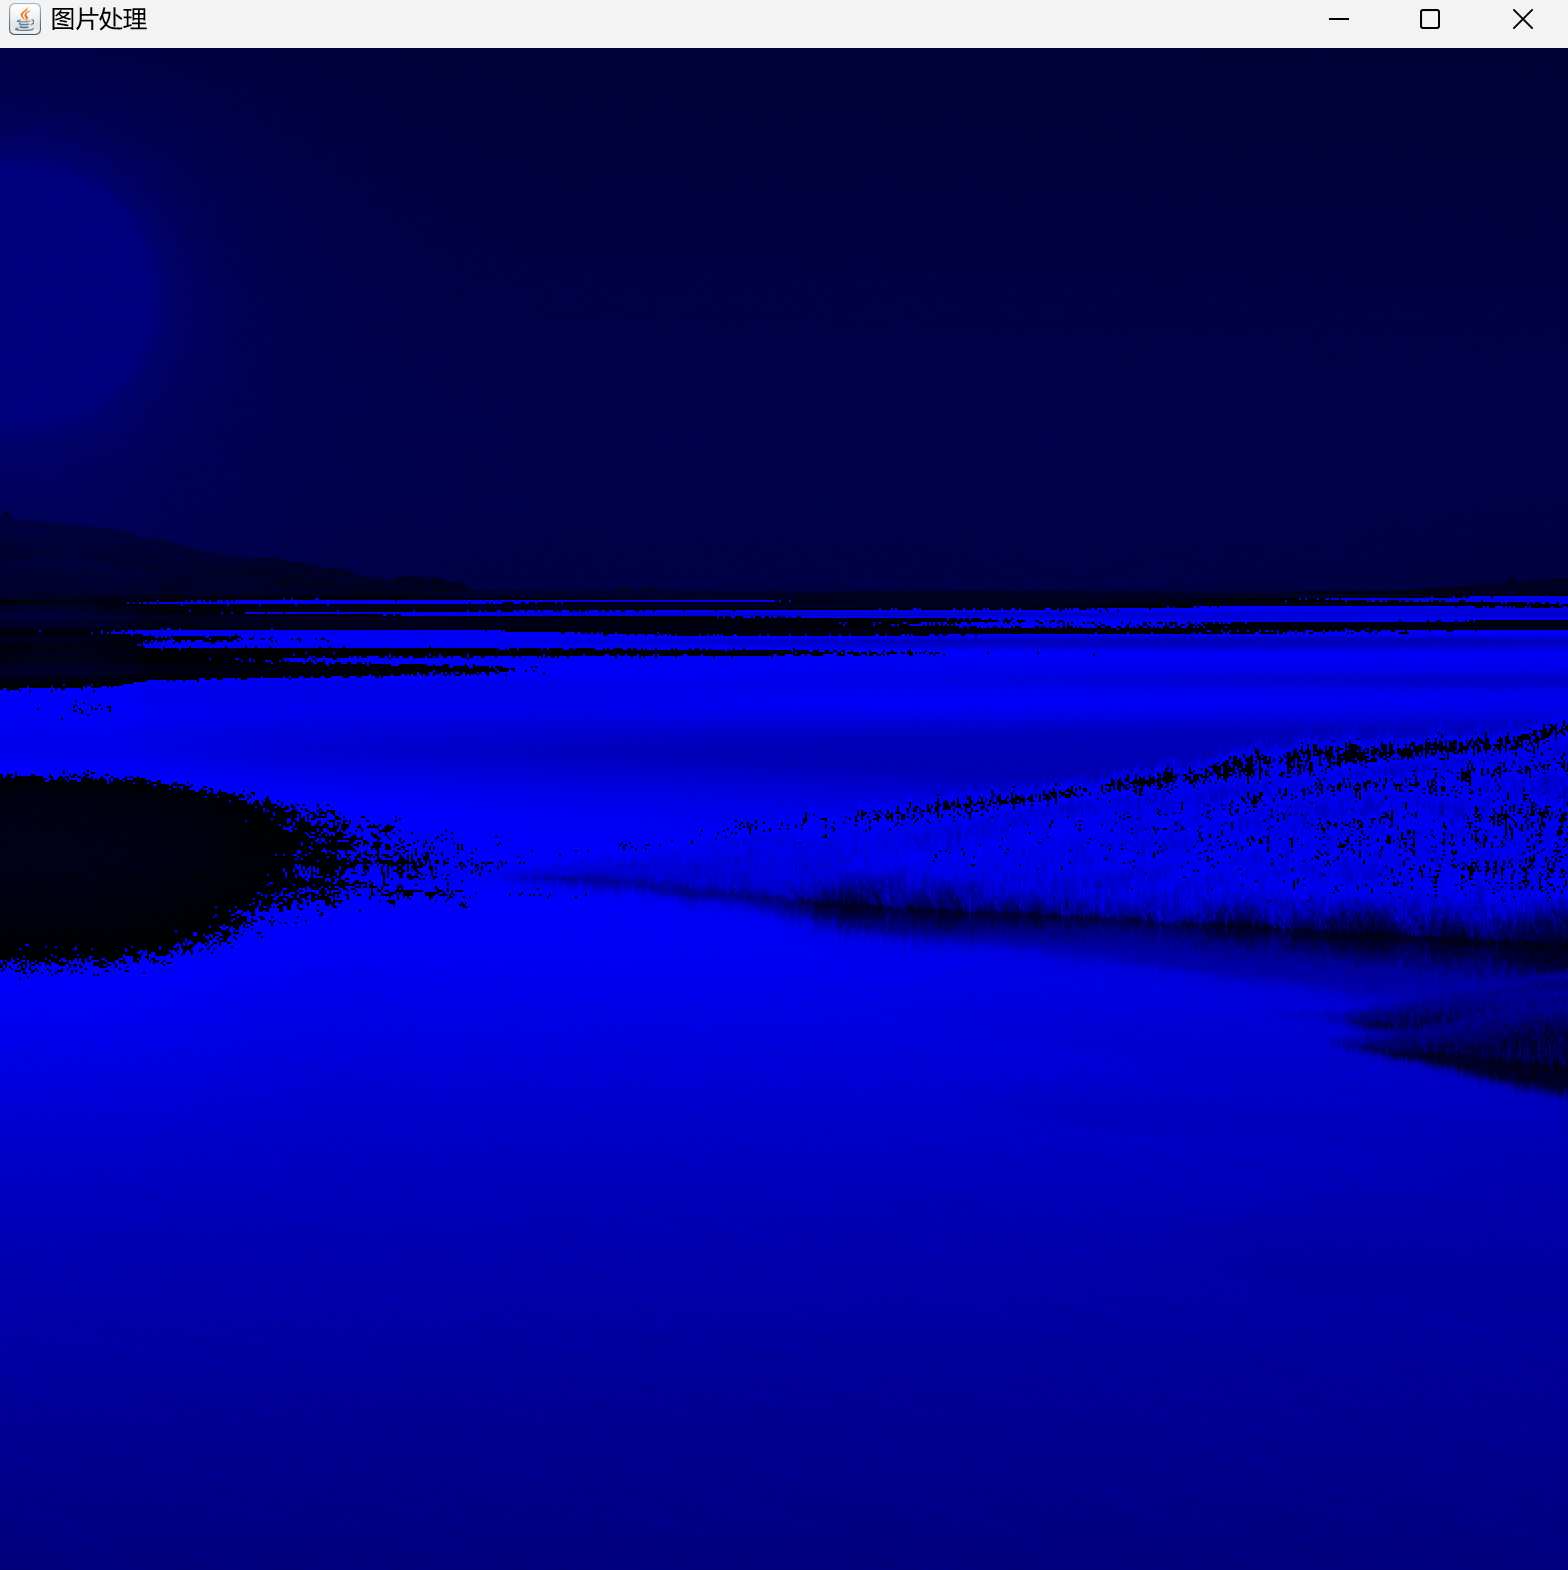
7、滤镜
for (int i = 0 ;i<w;i+=1){
for (int j = 0;j<h;j+=1){
int rgb = imgPixs[i][j];
Color color = new Color(rgb);
int red = color.getRed();
int green = color.getGreen();
int blue = color.getBlue();
int grey = (red+green+blue)/2;
Color color1 = new Color(grey);
g.setColor(color1);
g.fillRect(i,j,10,10);
}
}
}
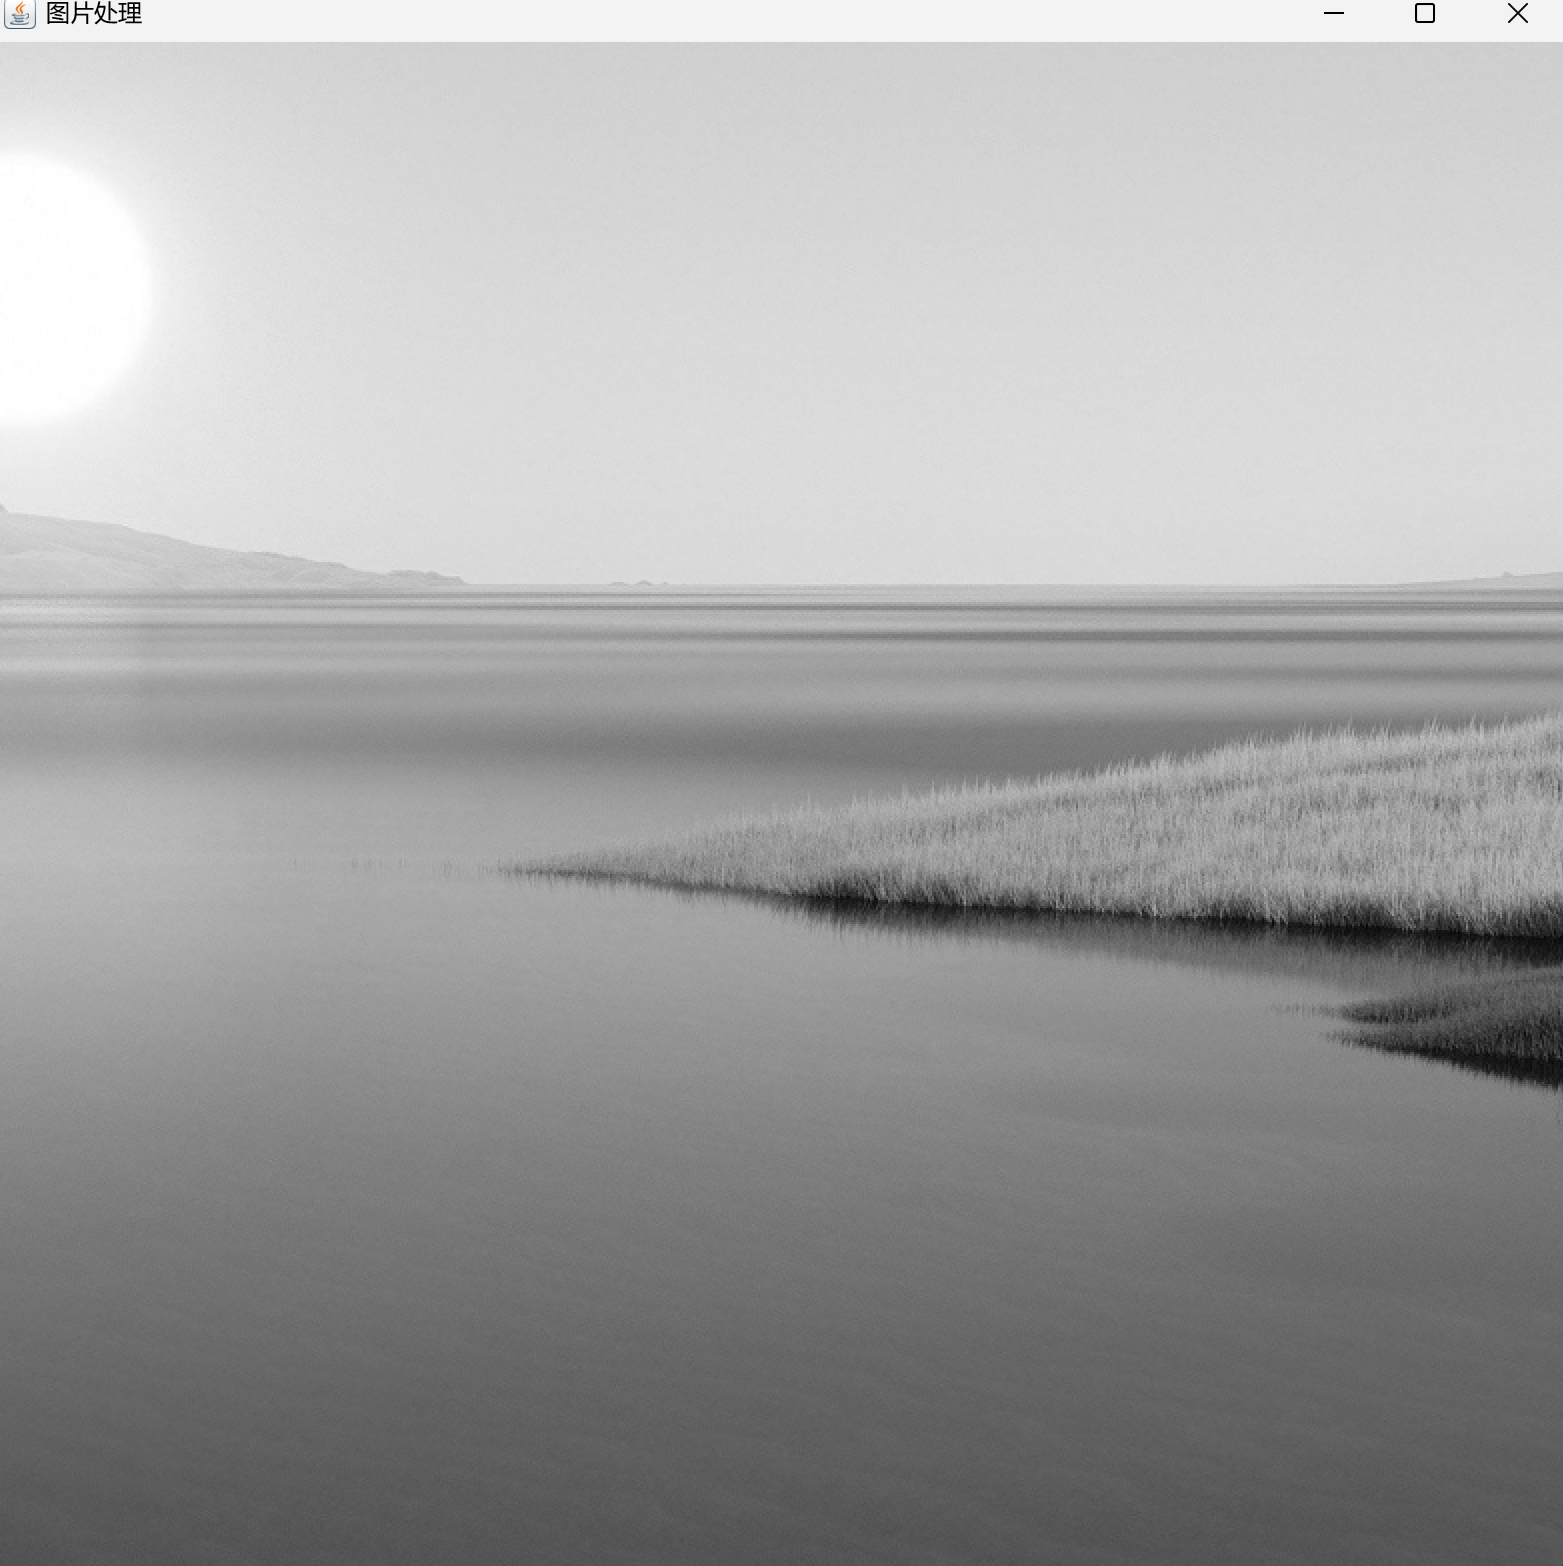
8、灰度
for (int i = 0 ;i<w;i+=1){
for (int j = 0;j<h;j+=1){
int rgb = imgPixs[i][j];
Color color = new Color(rgb);
int red = color.getRed();
int green = color.getGreen();
int blue = color.getBlue();
int grey = (red+green+blue)/3;
Color color1 = new Color(grey,grey,grey);
g.setColor(color1);
g.fillRect(i,j,10,10);
}
}
}
三、完善代码
9、建立程序入口
public static void main(String[] args) {
ImageUI imageUI = new ImageUI();
imageUI.showUI();
}
10、完整代码
以灰度为例
package zzy0805;
import javax.imageio.ImageIO;
import javax.swing.*;
import java.awt.*;
import java.awt.image.BufferedImage;
import java.io.File;
import java.io.IOException;
public class ImageUI extends JFrame{
public void showUI(){
JFrame jf = this;
jf.setTitle("图片处理");
jf.setDefaultCloseOperation(JFrame.EXIT_ON_CLOSE);
jf.setSize(800,800);
jf.setVisible(true);
}
//绘制方法
public void paint(Graphics g){
super.paint(g);
String path = "\\\\C:\\\\Users\\\\Lenovo\\\\OneDrive\\\\图片\\\\Screenshots\\\\屏幕截图 2025-08-05 212903.png\\\\";
//调用读取图片的方法
BufferedImage img = readDate(path);
//绘制图片 图片的左上角坐标
g.drawImage(img,0,0,null);
//提取图片的数据:
//获取图片的宽高
int w = img.getWidth();
int h = img.getHeight();
//创建一个二维数组,存储图片的数据
int[][] imgPixs = new int[w][h];
//便利图片的每一个像素,取出存入数组中
for (int i = 0 ;i<w;i++){
for (int j = 0;j<h;j++){
imgPixs[i][j]=img.getRGB(i,j);
}
}
//重新遍历数组,取出每一个像素值
//灰度
for (int i = 0 ;i<w;i+=1){
for (int j = 0;j<h;j+=1){
int rgb = imgPixs[i][j];
Color color = new Color(rgb);
int red = color.getRed();
int green = color.getGreen();
int blue = color.getBlue();
int grey = (red+green+blue)/3;
Color color1 = new Color(grey,grey,grey);
g.setColor(color1);
g.fillRect(i,j,10,10);
}
}
}
//读取数据的方法,得到一个缓存图片对象
public BufferedImage readDate(String path){
File file = new File(path);//文件夹属性:文件的路径 名称 尺寸 等等
try {
//读取文件的图片
BufferedImage img = ImageIO.read(file);
return img;
} catch (IOException e) {
throw new RuntimeException(e);
}
}
public static void main(String[] args) {
ImageUI imageUI = new ImageUI();
imageUI.showUI();
}
}


评论前必须登录!
注册