 网硕互联帮助中心
1.项目打包
根目录会生成一个dist的文件夹
npm run build
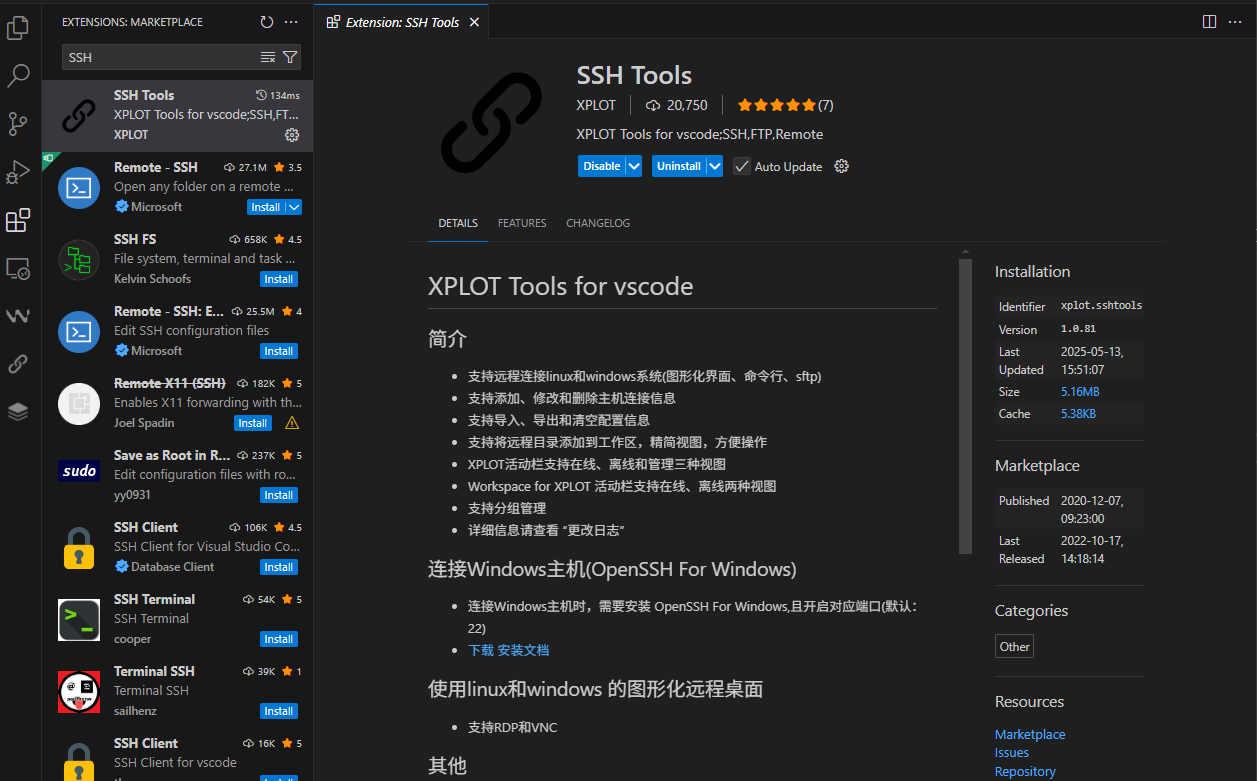
2.下载ssh插件
在vscode中的插件库中搜索SSH ,找到SSH Tools下载;
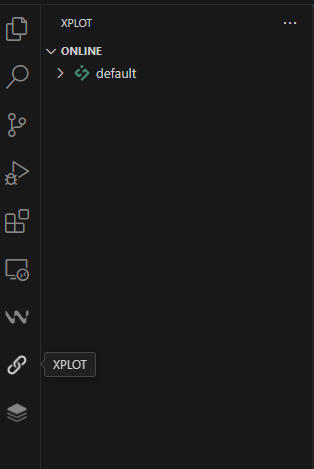
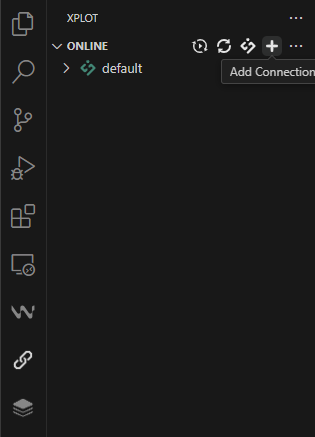
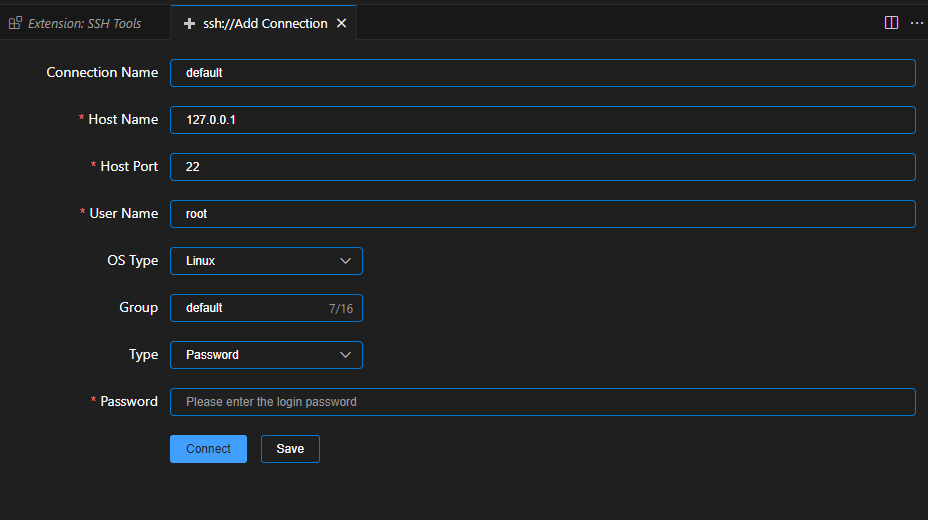
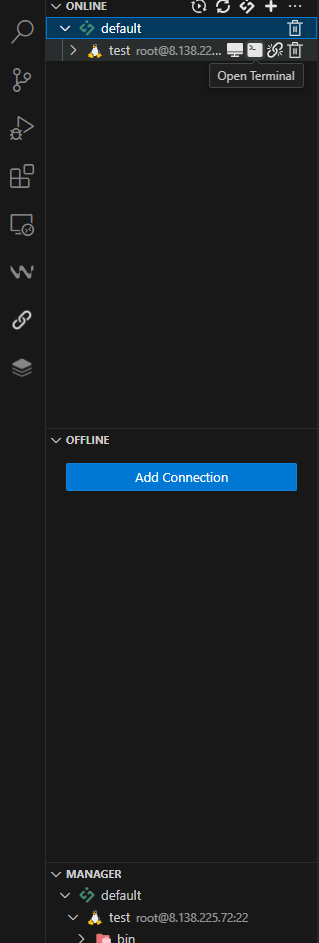
3.添加远程连接到vscode

Host Port 为服务器公网ip地址
密码在服务器重置密码后由自己设置
4.下载nginx
点击垃圾桶往左边第二个打开终端
下载nginx并配置
//1更新系统
sudo dnf update -y
sudo yum update -y
//2安装编译工具和依赖库
sudo yum install -y gcc make openssl openssl-devel pcre-devel zlib-devel wget
//3下载源码包
wget https://nginx.org/download/nginx-1.23.4.tar.gz
//4解压源码包
tar -zxvf nginx-1.23.4.tar.gz
# 进入目录 cd nginx-1.23.4
# 查看内容 ls -la
//5编译并安装
./configure –prefix=/usr/local/nginx –with-http_ssl_module –with-stream –with-http_stub_status_module
make && make install
5.配置nginx.service文件
nginx.service 文件是一个 systemd 服务单元文件,用于在基于 systemd 的 Linux 系统中定义如何管理 Nginx HTTP 和反向代理服务器的服务。这个文件告诉 systemd 如何启动、停止、重启以及监控 Nginx 服务的状态
通常情况下,nginx.service 文件可能位于以下路径之一:
/lib/systemd/system/nginx.service
/etc/systemd/system/nginx.service
打开并编辑nginx.service文件
vim /usr/lib/systemd/system/nginx.service
打开后输入字母 i 进入编辑状态,文件底部出现– INSERT — 后进行编辑,
编辑完成后点击ESC(ESC再锁定情况下)退出编辑状态,输入 :wq 退出文件
nginx.service文件参考
[Unit]
Description=nginx
After=network.target
[Service]
Type=forking
ExecStartPre=/usr/local/nginx/sbin/nginx -t
ExecStart=/usr/local/nginx/sbin/nginx
ExecReload=/usr/local/nginx/sbin/nginx -s reload
ExecStop=/usr/local/nginx/sbin/nginx -s quit
PrivateTmp=true
[Install]
WantedBy=multi-user.target
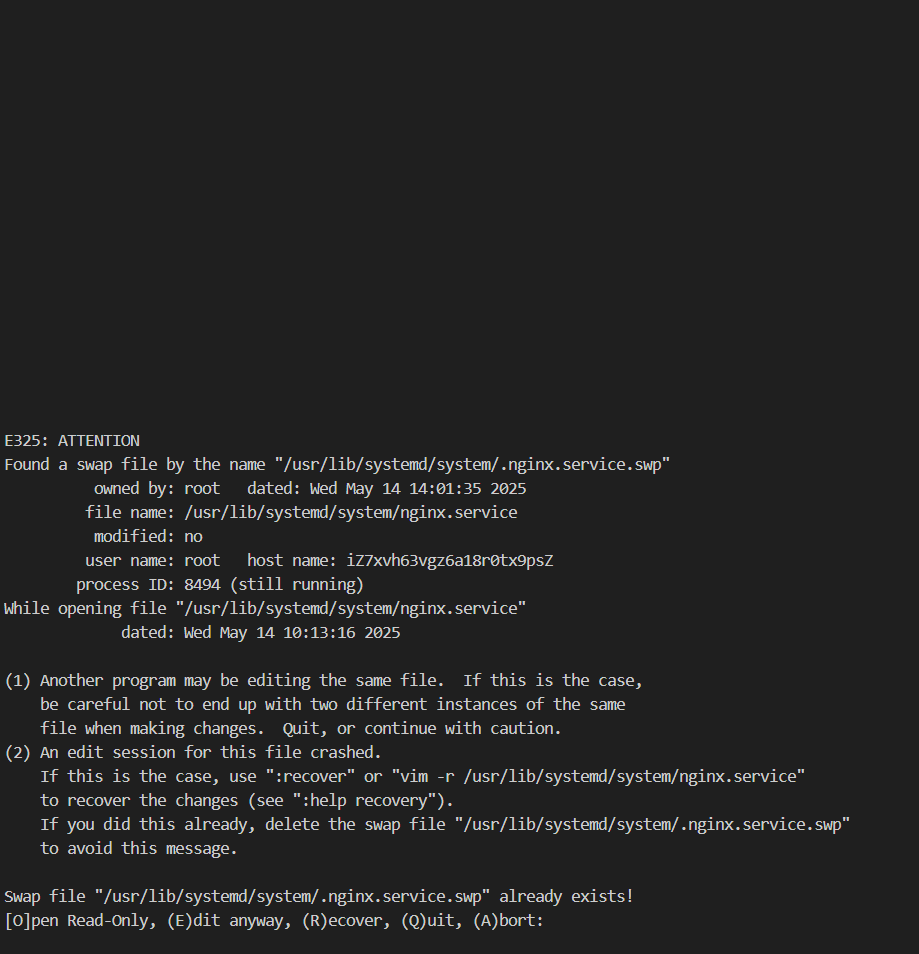
如果在输入vim /usr/lib/systemd/system/nginx.service命令后出现如下页面,输入A退出,再输入
sudo rm /usr/lib/systemd/system/.nginx.service.swp
进行删除后,再出现编辑
6.上传项目
在/home文件夹下面新增project文件夹,在project文件夹下面新增deepseekProject文件夹(这就是上传项目的文件夹),接着新建dist文件夹(只能上传文件),自己根据dist的层级和文件进行上传。

/home/project/deepseekProject/dist
7.新建项目配置文件
在/usr/local/nginx/conf文件夹下面新增一个文件夹命名为myhost,继续在myhost文件夹下面新增项目配置文件deepseekProject.conf(根据自己的项目名称而定)
server
{
listen 80;
server_name deepseekAI;
index index.html;
root /home/project/deepseekProject/dist; #dist上传路径
#避免访问出现404错误
location / { try_files $uri $uri/ @router; index index.html; }
location @router { rewrite ^.*$ /index.html last; }
}
8.修改nginx配置文件
修改/usr/local/nginx/conf/nginx.conf文件的 #gzip on;下面的server进行替换;
主要是多了一个:include myhost/*.conf;
#gzip on;
include myhost/*.conf;
server {
listen 80;
server_name localhost;
#charset koi8-r;
#access_log logs/host.access.log main;
location / {
root html;
index index.html index.htm;
}
#error_page 404 /404.html;
# redirect server error pages to the static page /50x.html
#
error_page 500 502 503 504 /50x.html;
location = /50x.html {
root html;
}
# proxy the PHP scripts to Apache listening on 127.0.0.1:80
#
#location ~ \\.php$ {
# proxy_pass http://127.0.0.1;
#}
# pass the PHP scripts to FastCGI server listening on 127.0.0.1:9000
#
#location ~ \\.php$ {
# root html;
# fastcgi_pass 127.0.0.1:9000;
# fastcgi_index index.php;
# fastcgi_param SCRIPT_FILENAME /scripts$fastcgi_script_name;
# include fastcgi_params;
#}
# deny access to .htaccess files, if Apache's document root
# concurs with nginx's one
#
#location ~ /\\.ht {
# deny all;
#}
}
9.配置完成后输入systemctl start nginx启动nginx
//常用命令
#启动
systemctl start nginx
#停止
systemctl stop nginx
#设置开机启动
systemctl enable nginx
#查看状态
systemctl status nginx
systemctl status nginx.service
#重新启动
systemctl restart nginx
#运行以下命令来彻底刷新 systemd 缓存:
sudo systemctl daemon-reexec
sudo systemctl daemon-reload
#重启 nginx 服务
sudo systemctl restart nginx
#查看状态是否还报错
sudo systemctl status nginx -l
#查看80端口占用情况
netstat -tulnp | grep :80 //sudo ss -tulnp | grep :80
#查看占用进程id
ps -p 1234
#杀死进程
sudo kill -9 1234
#运行以下命令查看系统实际加载的是哪个服务文件:
systemctl show nginx.service -p FragmentPath
#检查Nginx的主配置文件位置
nginx -t // nginx -t
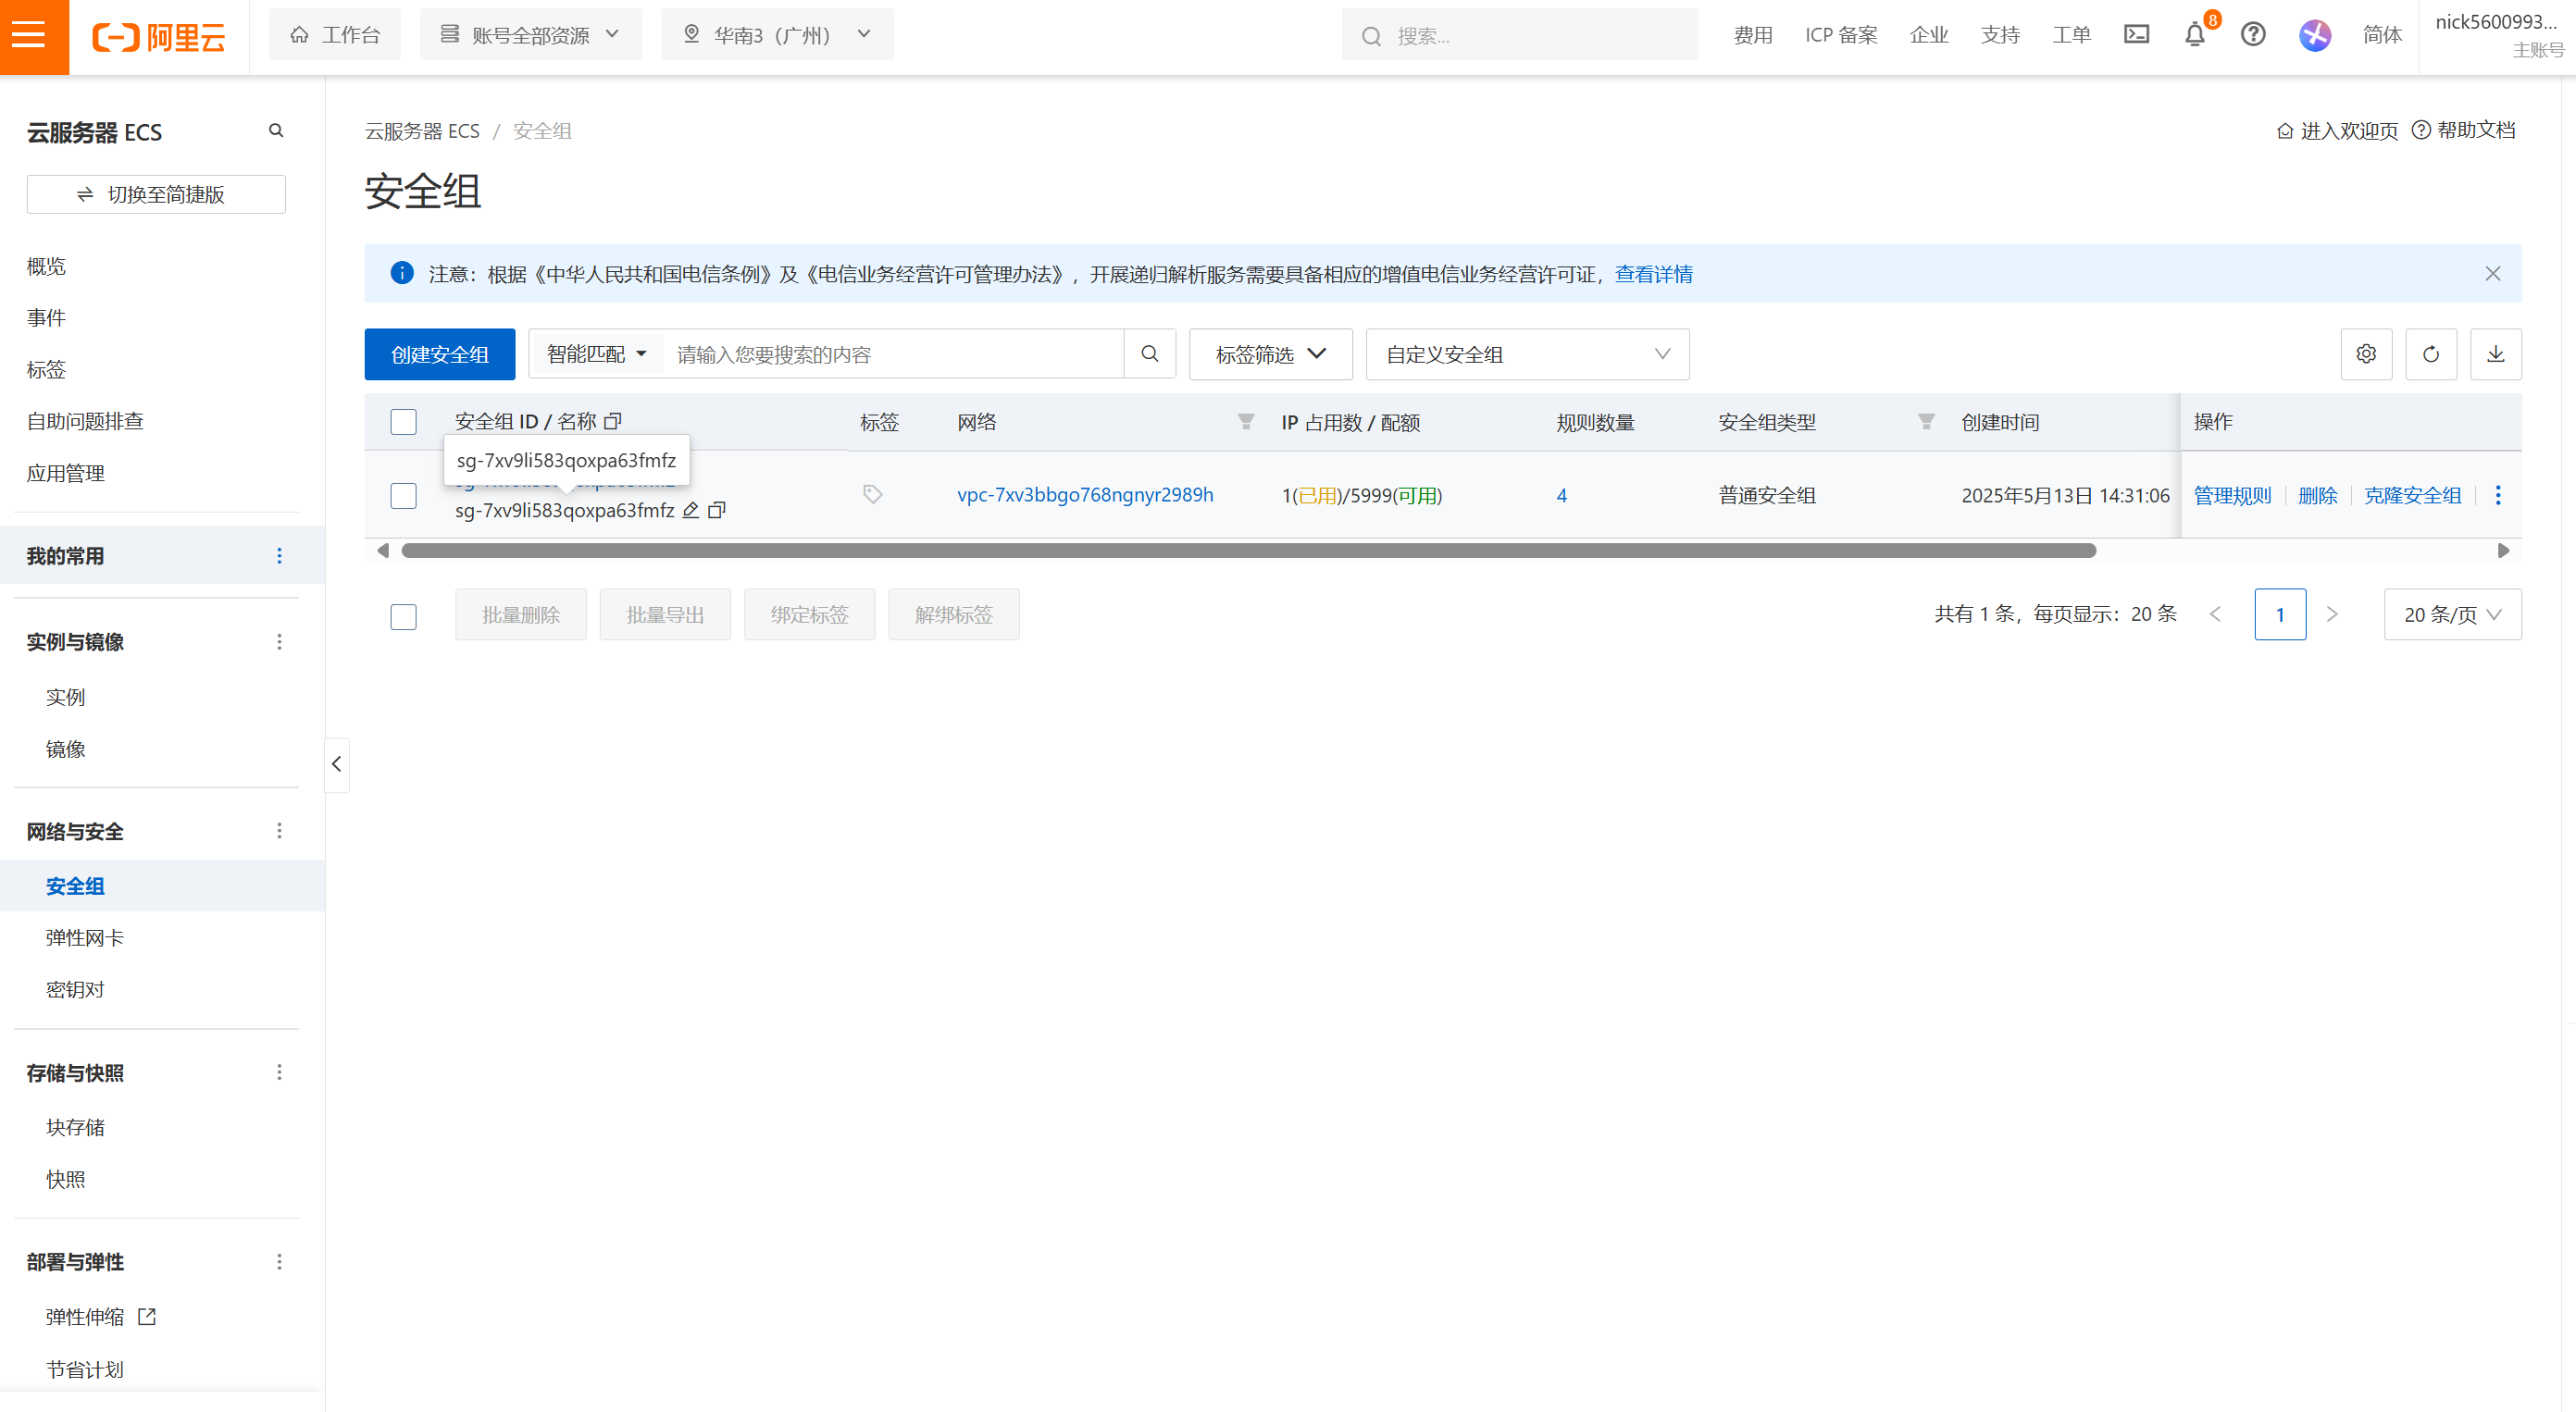
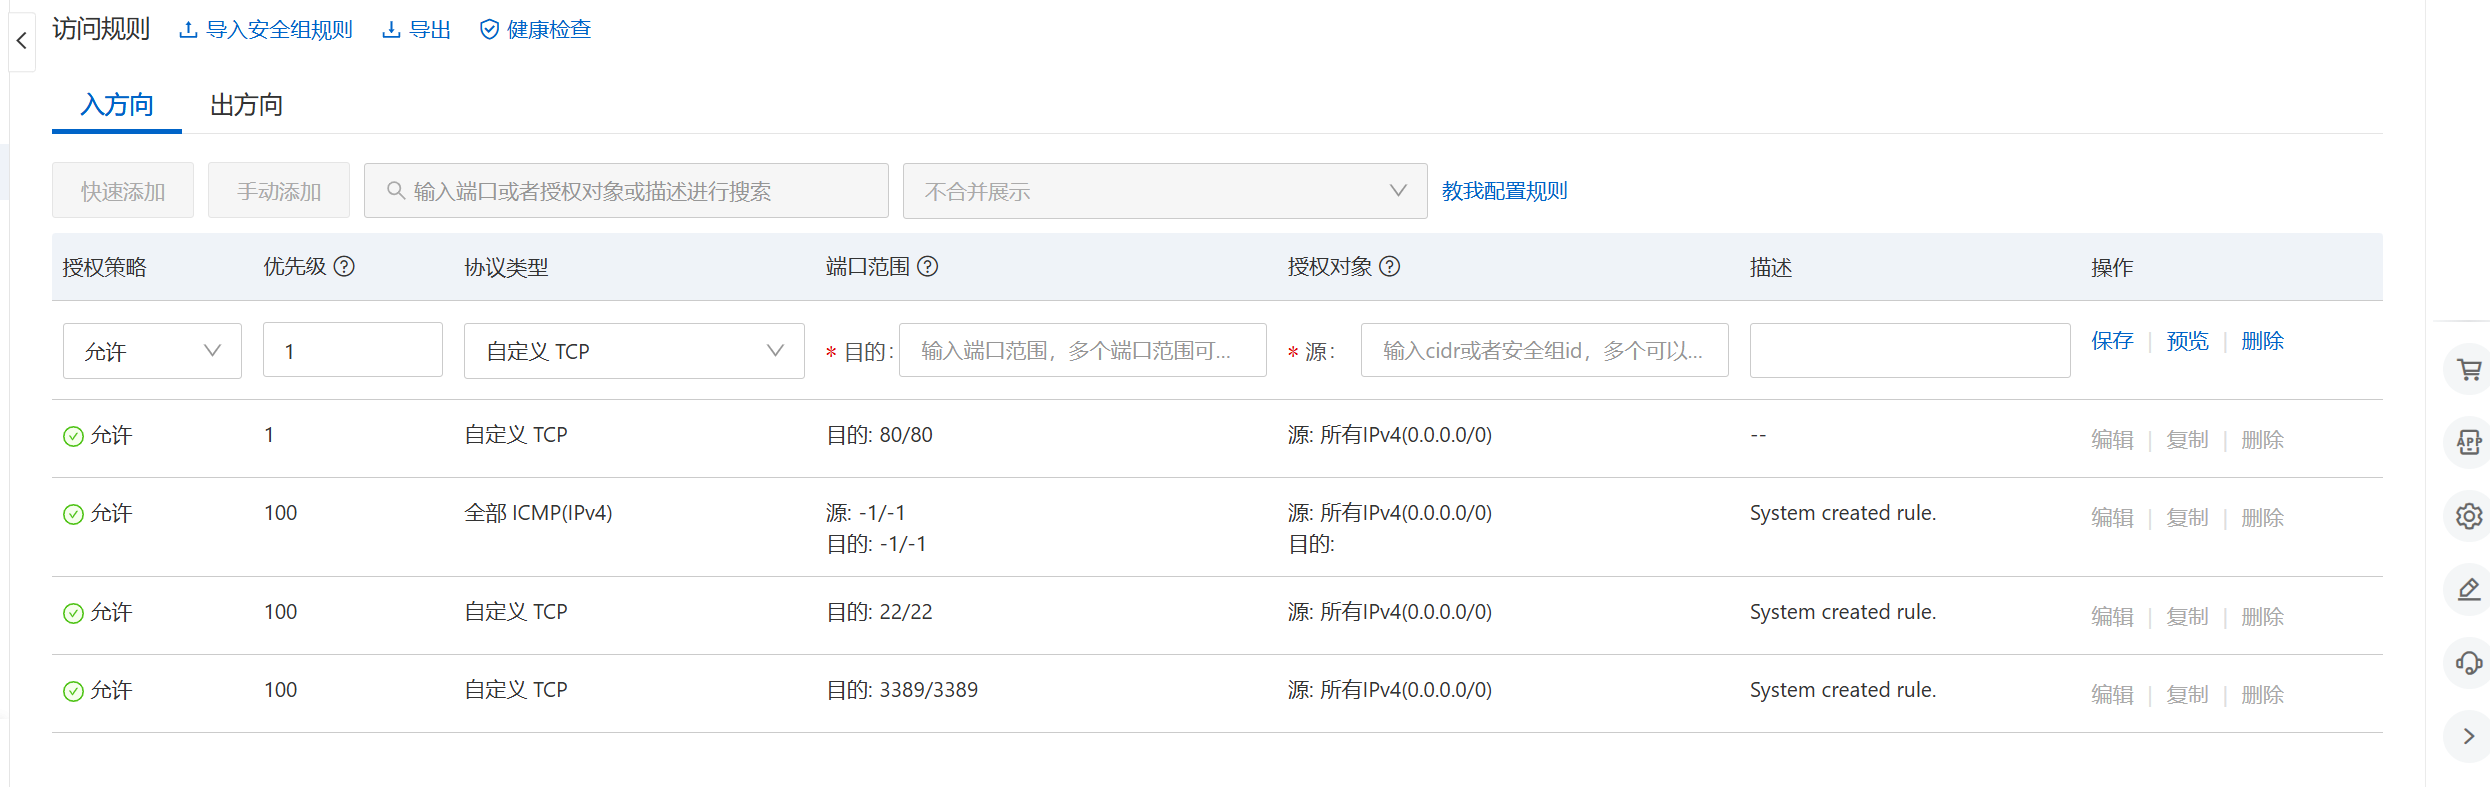
服务器tips:配置端口


评论前必须登录!
注册